Going Back In[]
Rescue Sam from Mathias[]
.jpg)
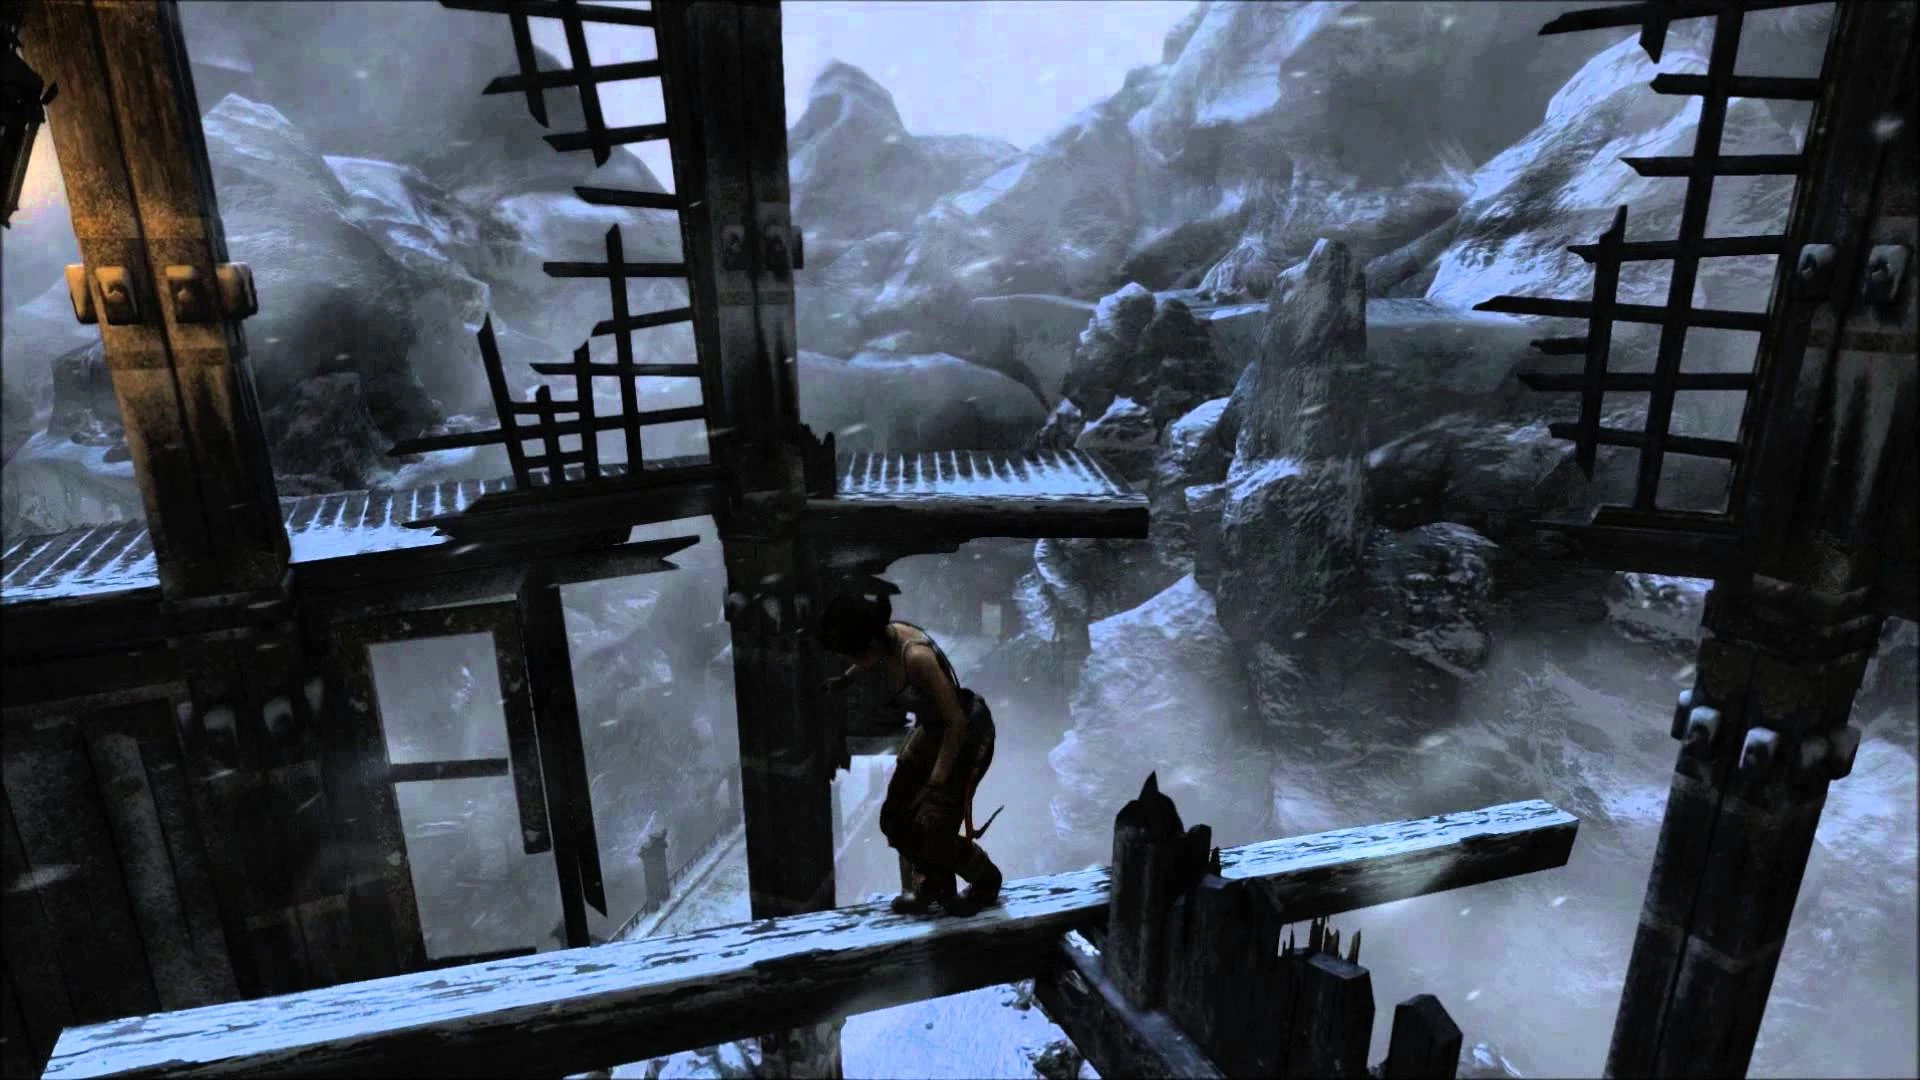
Cross the bridge ahead to come across Mathias and Sam. Lara loses both of them and she has to follow the path to the left. Enter the tower and fire a rope arrow at the craggy wall. Climb over and scale the wall.
Jump to the right and continue to climb the wall. When you cannot go any further, leap over to the walkway. Jump across the gap as you head towards the opening further ahead. Jump to the climbable surface ahead and climb left.
Jump over to another craggy wall and climb into the next floor of the tower. Look right to find a weight wrapped in a rope coil. Shoot it with a rope arrow to pull it towards you. The strong wind catches it and the weight smashes into the gate, giving you an exit.
Leave through your new opening and jump over to the boards on the left. Climb up to the next floor and stand next to the post. Look to the right to find an object wrapped in rope. Make a rope bridge for yourself and cross the gap. The object falls and takes out most of the floor, but Lara grabs a hold of a beam. Make sure to press the Action button so Lara doesn't slip.
Pull up and balance you way to the right. Leap over to a wooden walkway. Follow it along as the harsh winds try and sweep Lara away. Hop down to an overhang at the end of the path and continue in the same direction, and you will reach a small ramp.
Leap over to the hanging boards and let them throw Lara against the icy wall. Grab on with your climbing axe and scale the wall to the right. Hop up and scramble up to the lattice side of the tower. Climb the boards until you can climb inside the tower. Lightning strikes the rock ahead, exposing the craggy wall. Make a rope bridge with the nearby post. Zoom over to the wall and climb to the left until more wall is exposed.
Jump to the new wall and then drop, make sure you reattach your axe to the wall below. Follow it to the right and climb up onto a hidden ledge. Here you will find a camp; the final one in the game. Make any upgrades you can before the final battles.
Move into the tower ahead and jump off the ramp towards a pole. Swing off and grab a lattice wall. Climb up the slats until Lara is blown away. Shimmey to the right and continue to the nearby wall. Keep moving upward and attach your axe to the craggy wall. Follow the wall and then jump to the right when you could move up no more. Climb up, and then return to the left. Make sure to reattach with your axe when jumping.
End the Storms by Stopping the Ascension Ritual[]
Drop down off the ledge you are standing on when the cutscene is done. Take cover behind the block and eliminate the Solarii soldiers that show up. When enemies appear on the tall structure, shoot the explosives to kill them. A shielded enemy will approach soon after, so be cautious. Loot the bodies and continue down the path. A huge gust of wind sweeps through the area, but Lara hangs on. Some Oni approach, but they will be flattened by a falling tower.
The tower blocks Lara's way as well, so scramble up the wall on the right and move to the left. A couple more Solarii show up. Kill them and hit the explosives on the structure to eliminate the raised threat. When everyone is dead, two Guardsmen walk in. Dodge away when they get too close so they could be isolated. This will let you kill one while the other slowly meanders over. As you continue ahead, the ground busts apart. Jump over to the tiny piece of land and then over to a craggy wall. Up ahead, the Oni Stalker kills a few Solarii, but now it's your turn to fight this monster.
Pull out your shotgun and wait for him to raise his club and slam it against the ground. While this happens, run behind him and fire a shot into
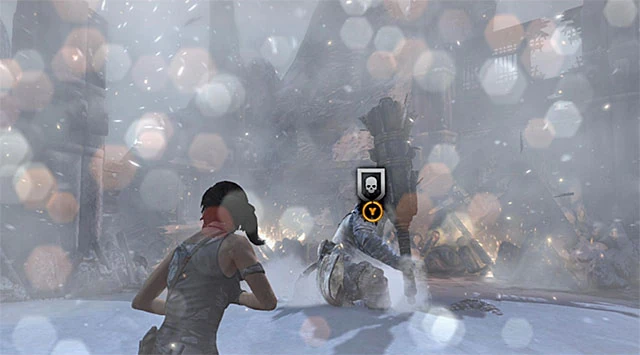
his exposed back. But watch out, as he can easily pick Lara up and throw her around. If he swings his club in a circle, scramble the other way and shoot into his back. After three hits with a shotgun, he will double over and the melee icon will appear over his head. Run towards him and press the button to start the sequence to try and knock off his helmet.
At this point, some Oni archers join the fight. Continue to attack the Stalker the same way as before, but shoot at the archers whenever you can. If you wait and let the big guy swing his club around, he could take out the archers for you by mistake. When he kneels again, run over and press the given buttons to knock off his helmet.
Now you can just blast him in the face. The third time he kneels, do the same melee attack. Next, press the melee button repeatedly to keep hitting him with the axe. When the action button shows up, keep pressing it until he rolls over on his back and is finished for good. Lightning strikes and creates a path for you ahead.
Mathias[]
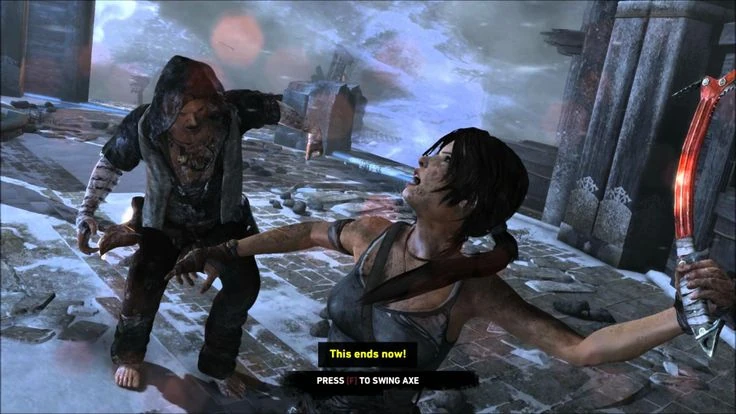
Run through the new path and across the bridge. When Mathias attacks:
- Press the Fire button to shoot at him
- Press the Melee button to strike with the axe.
- Repeatedly press the Action button when he attempts to choke Lara.
- The aim and fire buttons repeatedly to finish him off with two handguns.
| ←Chasm Shrine Walkthrough | Chasm Ziggurat Walkthrough | None |
Tomb Raider (2013) Walkthroughs
| |
|---|---|
|
Scavenger's Den · Coastal Bluffs · Coastal Forest · Mountain Temple · Mountain Village (First Visit) · Base Approach · Mountain Base · Base Exterior · Cliffside Village · Mountain Village (Second Visit) · Mountain Pass (First Visit) · Chasm Monastery · Mountain Village (Third Visit) · Mountain Descent · Shantytown · Cavern Entrance · Geothermal Caverns · Solarii Fortress · Fortress Tower · Summit Forest · Gondola Transport · Shipwreck Beach (First Visit) · Cliffside Bunker · Shipwreck Beach (Second Visit) · Research Base · Mountain Pass (Second Visit) · Chasm Stronghold · Chasm Shrine · Chasm Ziggurat | |