Cry For Help[]
Climb the Radio Tower to Send an S.O.S.[]
To the right is a camp, where you can purchase skills and make upgrades. After crossing the beam of the bridge, a Solarii grabs Lara from behind the truck. Wiggle the analog stick back and forth and then kick him off the bridge with a well-timed press of the melee button.
Hide behind the truck and pick off two men that are hiding behind sandbags and barrels with a weapon of your choice (the bow works good here). Search the other side of the truck for the GPS cache.
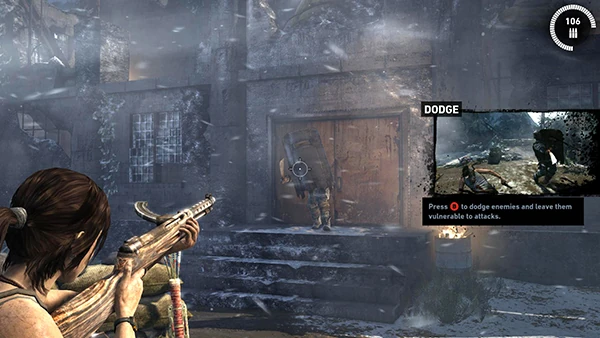
Move down the road as more Solarii attack. At the next corner, take cover behind the wall and kill the two men on the far building.
Turn around and climb up the left wall. Move around to the other side of the building to find a relic. From this location, you have a good view of the enemies in the distance. Watch for the explosives they fling in your direction.
More enemies take cover behind the sandbags down the street, so be careful. Scramble up to the second floor of the demolished building and pick up a document.
More melee enemies charge at Lara as you proceed towards the shorter structure to the west. Just watch for the explosives.
When everything goes silent, feel free to drop into the ground below. Here a Solarii Guardsmen emerges from the building. He carries a huge metal shield, so you can't shoot directly at him. Luckily, he moves at a slow, steady pace, which gives you time to get ready. Dodge away from him as he swings and shoot his exposed back to finish him off. Kill another man who appears with a quick headshot. Now the battle is over.
Loot the bodies and make sure you loot the body of the Guardsmen. He is carrying a piece of a Recurve Bow. Enter the building and climb up to the second floor. Use the axe on a door in the northeast corner to find a relic.
Continue up to the top of the building. There is a base camp here. A document sits by the fire.
A zip line runs over to an eastern building. Ride it down and grab the treasure map. Use the zip line to return to the camp.
Climb the zip line to reach the radio tower. Climb up all of the ladders and Lara situates herself up top. To get the radio set up, spin the left analog stick clockwise until you here a broadcast message. Press the Action button and fine tune the signal. Press the action button one more time to cast an S.O.S. Now you need a fire to signal your location.
Start a Signal Fire[]
Hop onto the zip line to return to solid ground. Slide down the hill and go into the structure on the right. Inside you gain a Fire Striker. Now you don't have to backtrack to a fire source to light your torch.
Move back outside to the fuel tanks and break open the valve with your axe to spill fuel on the ground. Light it on fire with your torch. But the plane comes crashing down towards Lara. She starts running in the opposite direction. You gain control as she slides down a hill. Steer away from the sharp objects and grab a hold of the platform. Climb up and jump over to the right to avoid the wreckage.
| ←Mountain Base Walkthrough | Base Exterior Walkthrough | Cliffside Village Walkthrough→ |
Tomb Raider (2013) Walkthroughs
| |
|---|---|
|
Scavenger's Den · Coastal Bluffs · Coastal Forest · Mountain Temple · Mountain Village (First Visit) · Base Approach · Mountain Base · Base Exterior · Cliffside Village · Mountain Village (Second Visit) · Mountain Pass (First Visit) · Chasm Monastery · Mountain Village (Third Visit) · Mountain Descent · Shantytown · Cavern Entrance · Geothermal Caverns · Solarii Fortress · Fortress Tower · Summit Forest · Gondola Transport · Shipwreck Beach (First Visit) · Cliffside Bunker · Shipwreck Beach (Second Visit) · Research Base · Mountain Pass (Second Visit) · Chasm Stronghold · Chasm Shrine · Chasm Ziggurat | |
Tomb Raider 2013 Quick Guides
| |
|---|---|
|
Coastal Forest · Mountain Temple · Mountain Village · Base Approach · Mountain Base · Base Exterior · Shantytown · Geothermal Caverns · Summit Forest · Shipwreck Beach · Research Base · Chasm Shrine |
|