Gone Missing[]
Reach the Endurance Wreck[]
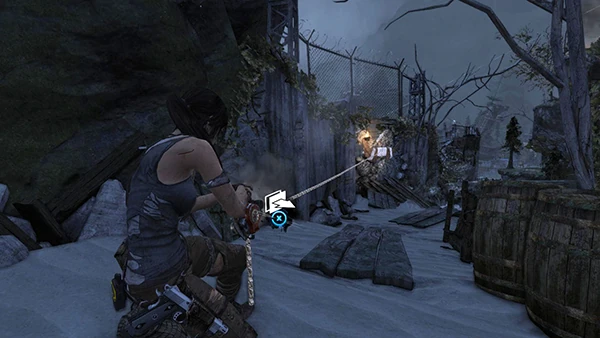
A camp sits just outside of the small tunnel. The first GPS cache is in the weeds to the left. Rest at the camp and then fire a rope arrow down to the craggy wall. Ride your new zip line down to the wall and climb around the building.
When you get inside, burn the flag on the wall with your fire arrows or your torch to start a Challenge. Squeeze through the tiny crack in the wall and you will find yourself in a room full of Solarii.
Lucky for you, they haven't spotted Lara. Use a stealth kill to quickly kill the man just outside, and hide before anyone notices. Take down as many workers as you can silently, before backing up to the wall and shooting the pulley that holds up a huge generator. KABOOM! A nice explosion ensues, which kills most of the Solarii members, but more enemies drop in.
Dodge and Counter the melee soldiers away from the gunfire, and then whip out your rifle for the ranged foes. After the battle finishes, a lone Solarii Guardsmen comes lumbering across the room towards you. Dodge his attacks and Counter with your own.
The second GPS cache lies on the ground to the left of where you entered. On a desk in the back of the room is a document.
Loot the bodies and grab all of the ammo you can before heading down the next hallway.
Enemies appear on the stairs ahead. Shoot the fuel barrels they roll down the stairs at you for easy kills. When they are dead, go to the balcony on the left. More enemies show up on the other balconies. Use the wall as cover as you take them down. Try to shoot the explosives away from you to avoid unwanted damage.
Jump over to the corner balcony, turn right, and use the pole to swing over to a ladder. Climb up to the next floor as enemies appear on the roof. Hit the explosive barrels to wipe them out quickly. Hop over the gap and cross the pipe to find a salvage trunk.
Run to the south and shoot a fire arrow at the second flag that hangs from the south wall. Now use the ramp to jump over to the hanging platform. Shimmey to the right and climb up. Jump onto the roof and look up and to the left. Another flag hangs from the tower high above. Turn around and burn the final flag that hangs near the west corner to complete the Challenge.
The third GPS cache is on the eastern side of the roof. Drop off to find a base camp. A document sits next to the fire. Look behind the crates near the edge of the cliff for a GPS cache. Run into the garage to the northwest to find a relic.
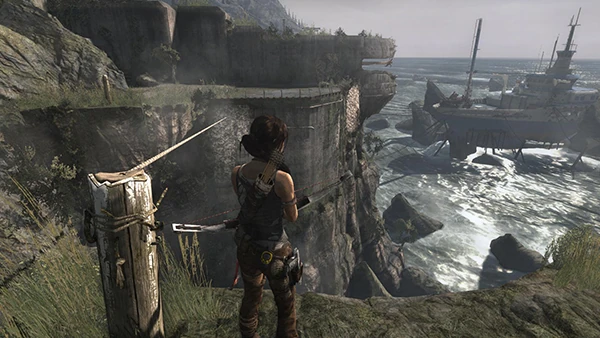
Now move to the edge of the cliff and shoot a rope arrow at the craggy wall. Slide down and climb up.
When you're on the plateau, walk around the big rock to the left for a GPS cache and then jump onto another zip line to sail down to the Endurance. Move through the crates and hide behind the box. Two Solarii are trying to move heavy cargo.

A huge man, Boris, walks into your line of sight. He moves the heavy cargo with ease. While he is busy, shoot the guy on the right first and then the man on the left. Take out your shotgun and shoot right at the big man's head.
He tries to swing at you with his fists, so dodge his attacks. If you have the Dodge Counter skill, wait for him to stomp over and swing his arms. Quickly scramble out of the way. You'll see a grey circle appear on the screen. Wait for the melee icon to appear before you press it. Done successfully, Lara will stab an arrow into his knee (Even if you have the Dodge Kill skill, she still will stab him in the knee) and he kneels on the ground. Take this time to blast him in the face with your shotgun. If you don't have the Dodge Counter skill, try to keep moving around the deck and firing at his head. After a series of blasts, he will kneel down and the melee icon appears over his head. Approach him to start your finishing move. Press the melee button at the right moments to finish him off. Lara also takes his rope ascender.
Find Alex[]
Shoot a rope arrow at the weight that's wrapped in rope. Use your rope ascender to pull it towards you and it will crash onto the deck and bust the floor. Drop down into the hole and follow the hall until Lara enters her old cabin.
Pick up the third document that lies right under your feet and quietly exit the cabin. Kill the Solarii soldier ahead. Shoot the man below before sliding down to his location. Follow the hall until you drop into the flooded hallway. This path leads to the cargo room, which is flooded as well.
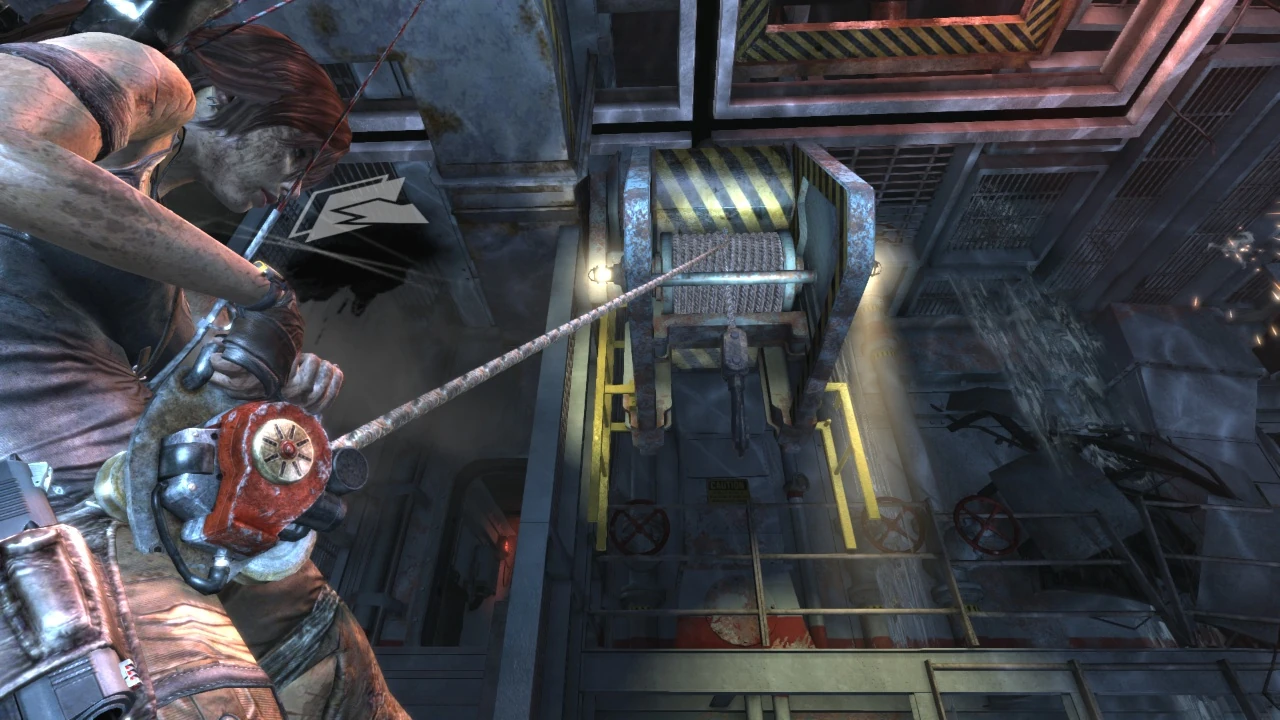
Alex is in the next room, but the door is blocked with live wires. You need to use the cargo hook to remove them. Fire a rope arrow at the rope on top of the hook and use the rope ascender to pull it towards you. Jump onto the smaller ladder to push it to the left and then run around to the right.
Pull the hook towards you and climb up the full ladder to the ceiling. Move right and tap the melee button to dislodge the pipe. Move the cargo hook back to the original position and pull it towards the door. The hook will grab the wires and then pull the hook back one more time. This finally allows Lara to get Alex.
Recover Reyes' Tools[]
You will find Alex and the tools, but Lara is forced to leave quickly.
Return to the Military Bunker[]
Run through the exploding ship and leap onto the rope. Use your rope ascender to quickly escape the weak section of the ship and end up on the stable one. Walk through the hall that leads back to the main deck. Climb up the cargo crates and jump onto the zip line you had previously used to get onto the ship. Use the rope ascender to quickly get back. Repeat the process on the next rope to get back to the bunker.
Return to the Survivor Camp on the Beach[]
Use your rope arrows and rope ascender on the heavy weight above. It crashes through the ground and gives you a way back in. Lara picks up a document.
Use the axe on the door to re-enter the bunker. Drop down to the right and use a rope arrow to open the door on the right. Climb inside to find a relic.

Drop back down to the ground and exit through the crack in the wall. When you reach the old cannon, use the rope ascender to bust through the wall to the right. On the ground to the right is another relic. Look behind the rocks to find the treasure map resting on some sandbags. Shoot a rope arrow into the craggy wall above the cave ahead and zoom back to Shipwreck Beach.
| ←Shipwreck Beach Walkthrough (First Visit) | Cliffside Bunker Walkthrough | Shipwreck Beach Walkthrough (Second Visit)→ |
Tomb Raider (2013) Walkthroughs
| |
|---|---|
|
Scavenger's Den · Coastal Bluffs · Coastal Forest · Mountain Temple · Mountain Village (First Visit) · Base Approach · Mountain Base · Base Exterior · Cliffside Village · Mountain Village (Second Visit) · Mountain Pass (First Visit) · Chasm Monastery · Mountain Village (Third Visit) · Mountain Descent · Shantytown · Cavern Entrance · Geothermal Caverns · Solarii Fortress · Fortress Tower · Summit Forest · Gondola Transport · Shipwreck Beach (First Visit) · Cliffside Bunker · Shipwreck Beach (Second Visit) · Research Base · Mountain Pass (Second Visit) · Chasm Stronghold · Chasm Shrine · Chasm Ziggurat | |
Tomb Raider 2013 Quick Guides
| |
|---|---|
|
Coastal Forest · Mountain Temple · Mountain Village · Base Approach · Mountain Base · Base Exterior · Shantytown · Geothermal Caverns · Summit Forest · Shipwreck Beach · Research Base · Chasm Shrine |
|