Open Wounds[]
Look for First Aid[]
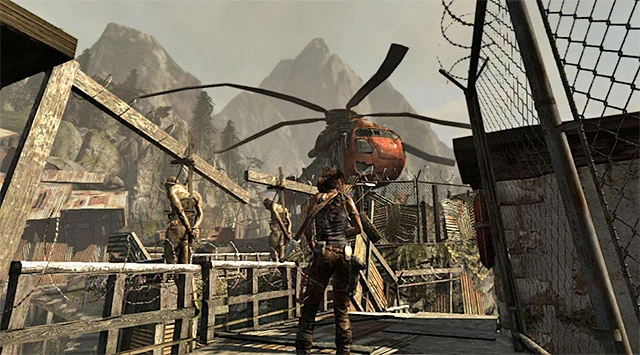
Lara is in need of first aid after her trip down the mountain. Move ahead to fall into Shantytown. In the distance you can see a helicopter. That could have first aid supplies for Lara.
Search the Rescue Helicopter for Medical Supplies[]
Stagger towards the helicopter and drop into the water on the right. Do not exit the water. Pull out your bow and aim at the guy on the roof just to the right. Send an arrow into his skull and fire a distraction shot to the left of the guy below. While another man investigates, kill the other and then take out the distracted man.
Do not step into the middle of the courtyard where a white sheet lays. This is a snare trap, and while salvage does hang from it, you will be able to get it safely in a little while.
When the area is clear, run up the stairs on the right and turn left. Follow the path around the turn and hop down to a lower level. Shoot a Solarii who charges your way, along with more foes who block your path. When they are dead, use a rope arrow to open the back of the chopper and look inside.
The medical supplies are gone, but Lara does find a lighter. She uses it with one of her arrows to seal the wound. She gets an idea: fire arrows.
Roth contacts her as she walks outside. They make plans to rendezous until a Solarii notices her and shoots up a flare.
Highway To Hell[]
Reach the Gate Under the Bridge[]
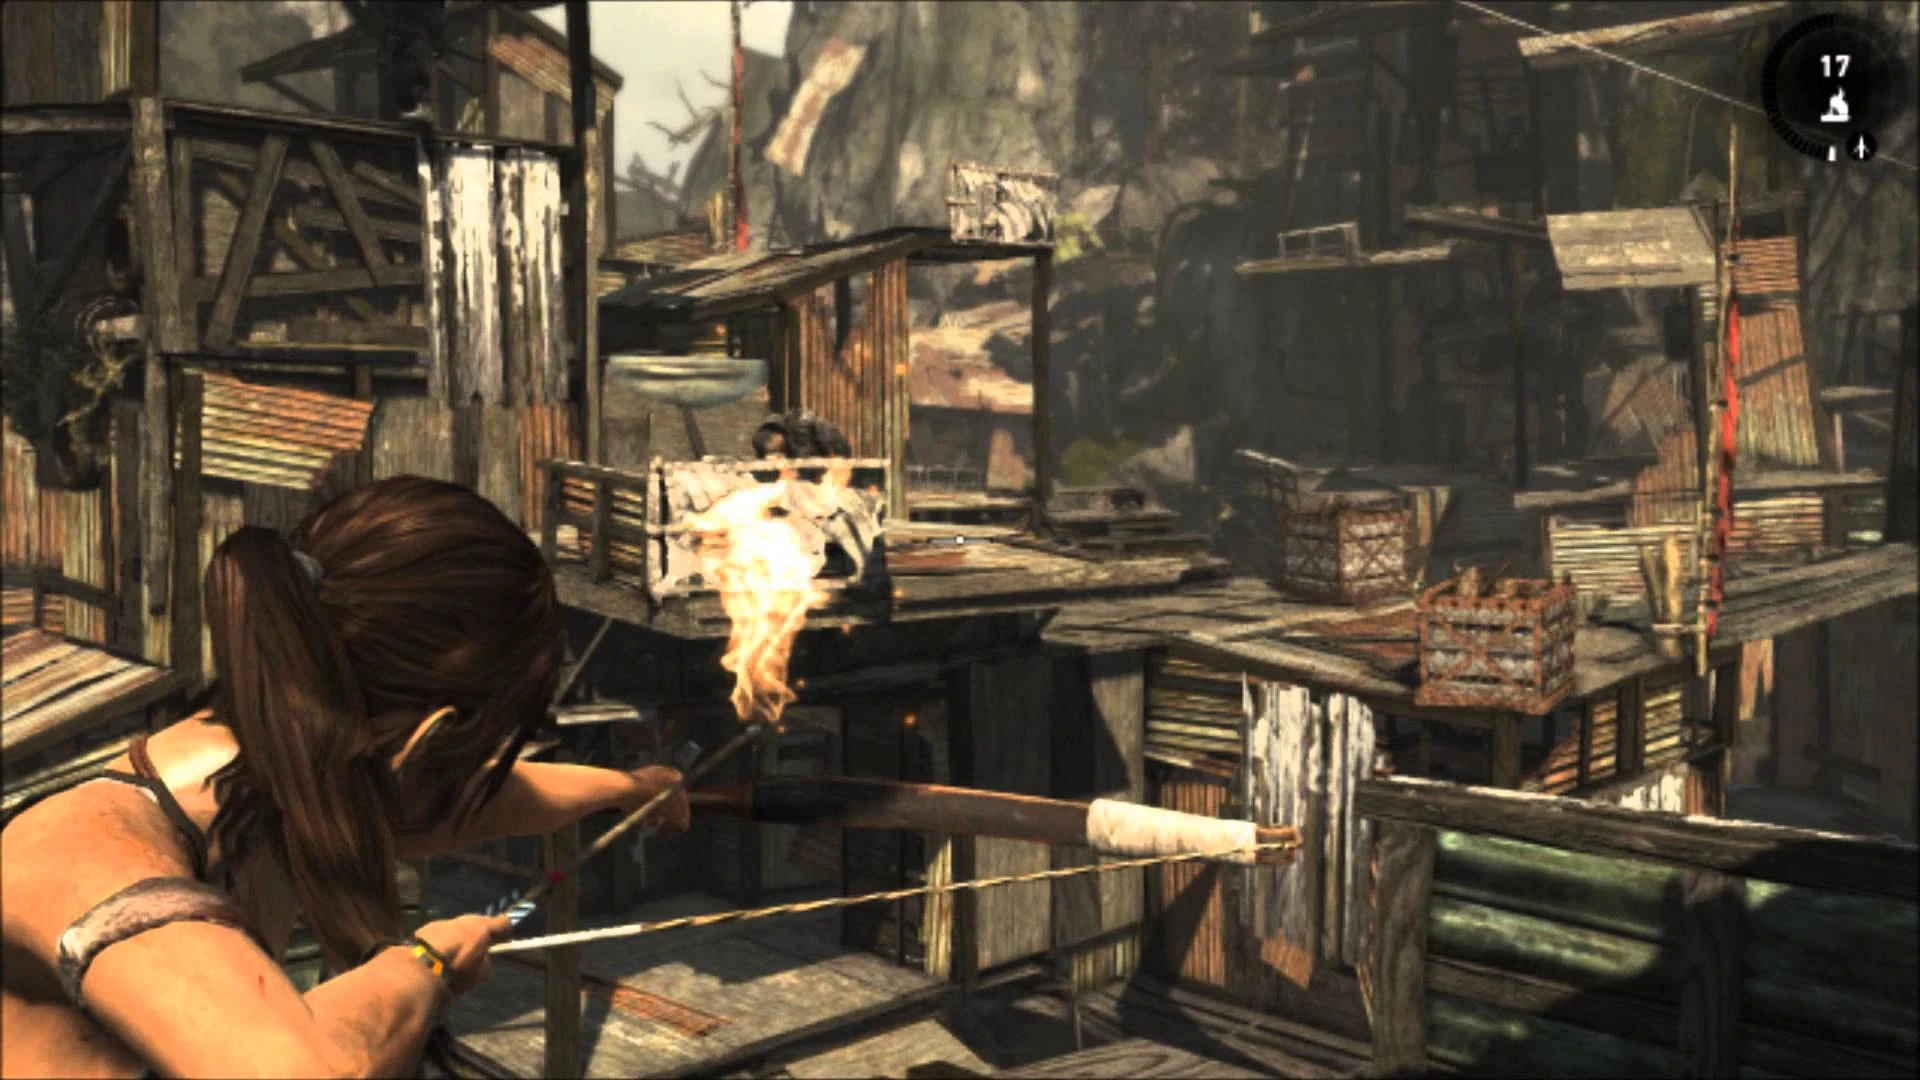
Solarii start to converge on your position. Start by firing a fire arrow into the group of three men below. This takes them out in one shot. Next,scan the area for enemies and take them out with your fire arrows. After a while, they set up zip lines and slide down to your location.
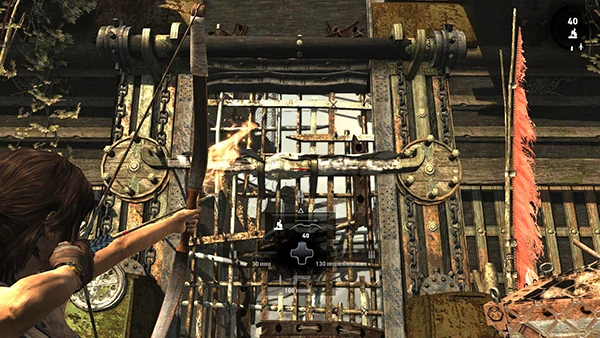
When they are taken care of, rest at the base camp. Then move down the steps to the right and turn to look blow the platform from where you started. Shoot a fire arrow at the cloth covered object to reveal an effigy. Pull it down with a rope arrow. This starts a Challenge.
Move along the right side of this area, past a ramp and a salvage net. At the end of the platform is a GPS cache. Backtrack to a small ramp and use it to reach a higher platform. Move around to the left and scramble up the wall to the roof. Jump to the platform to the south and use your axe on an alarm. This starts the second Challenge.
Return to the base camp and hop down to the ground below. Run up the ramp to the south and blast through a barrier with your shotgun. Grab the relic that sits just inside and go back up the stairs. Keep continuing to go south and then blat through two barricades. A document sits on a desk just ahead.
Turn to the east and jump up to the upper level to find another document. Drop right back down and shoot out the barricade to the southwest. Search inside the room on the left for a GPS cache.
Next, run southwest to find a building with a white marking on the outside of it. Use the shotgun to get inside and pick the relic.
Entering the big building to the south sets off a snare trap. Enemies charge your position, so try to quickly take them out with your handgun. When they are dead, just shoot the pulley to be released. This can be avoided by approaching the left side of the doorway and shooting down the salvage inside, which deactivates the trap.
Loot the bodies (if there are any) and grab the salvage that's inside the room before you use a rope arrow on the rope coil on the floor. Drop down into the hole and pick up the GPS cache.
A Challenge Tomb is just down this tunnel. If you would like to raid the tomb, click here.
After you've exited the tomb, head all the way back to the base camp. It's time to explore the west side.
Run to the west and blow open a barricade. Solarii attack, so pull out your shotgun for some quick kills. After they are defeated, three more give chase when you climb the stairs in the far corner.
Climb onto the next floor and look around in the room for a relic. Exit to the south, then turn left. Scramble up to the roof and grab a document that's in a small room.
Drop off the south side, all the way to the ground, and fire your shotgun at a barrier to the left. This was blocking your access to another GPS cache. Move down the right steps and climb onto the walkway on the left. Destroy another barrier to the right and grab another GPS cache.
Move back around the corner, scramble up the wall, and grab the overhang above. Run around the corner to the left and bust through another barrier of boards and barbed wire. Inside is a relic.
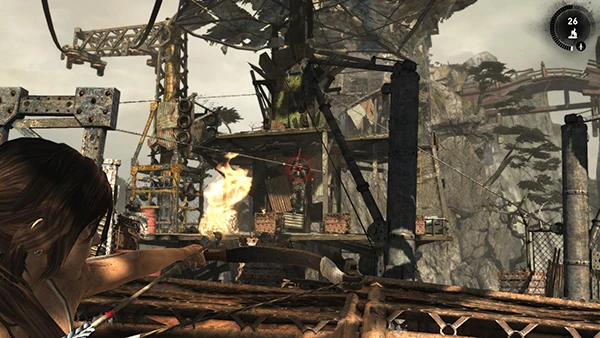
Exit the room to the south and look southwest to find a cloth hanging on the side of a big building. Set it on fire with your fire arrows and then yank it down. Another effigy can be found by hopping up on the roof to the east. Now it's time to head to the gate.
Find a Way Through the Gate[]
Drop down and head towards your objective beacon. As you approach the gate, Solari slide down on zip lines in an attempt to surround you. There are many melee and ranged enemies, and even a Guardsman shows up. Hit the red barrels to gain an advantage over them.
After you have defeated them, turn around and use a fire arrow on the board that stretches across the gate. Now use your axe on a crank to open the gate.
Infiltrate the Palace[]
Move through the gate, and on the other side you will find a camp. Avoid the slippery slope ahead by walking to the left of the pipes and then drop off a balcony. Follow it to a barrier which you can destroy with your shotgun. A document is located inside.
Go back outside and look west to find another effigy. After you've destroyed it, move through the sludge. Lara will then see that Grim is in trouble. Go across the bridge until you see a wooden ramp below in the water. Jump down to it and run to the west end to find a GPS cache. When you start to climb the ladder to the southeast, explosives blow it up and enemies attack.
When the battle starts, they are just firing at you from long range. But they hurl plenty of explosives your way, so scramble to find new cover. After you've killed a few, they set up zip lines and melee foes slide down to you. Dodge and Counter their attacks to quickly take them out.
After the battle, Grim talks with Lara.
Jump onto the zip line that leads to the right platform. Climb up to there and destroy the alarm. Drop down and bust through the barricade. Run down the steps and onto the middle of the bridge. Drop down onto a rock below and grab a GPS cache.
Look inside the shack to the north to find a relic and then climb up the ladder. Face the north and look up to the rock ahead. Destroy the final effigy.
Around the corner to the north is a barricade with a GPS cache inside. After grabbing it, use the opposite side of the south wall to scramble up to the next level. Follow the path to the right and up another wall.
Two Solarii appear here and try to take you out. Kill them quickly and then turn around, jump over to the bridge, and then use a ramp to reach a pole behind you. Up ahead is another alarm.
Continue up the level from the north and use a zip line to reach the area where the previous enemies attacked you.
Liberator[]
Find Your Way to Grim[]
Before you worry about the Solarii ahead, drop down to the lower level behind you. Run around the corner to the east to find a GPS cache. Go back to the spot you dropped down from and hop over the railing. Use the shotgun on a barrier ahead to find a relic.

Climb back onto the upper platform and kill the enemies ahead. Once they are cleared out, leap between the windmill blades and then take cover behind a crate as more appear.
Now Lara is at the top of the cargo hauling system. Scramble up the wall just west of the moving cargo baskets and destroy the final alarm.
Climb up the boards on the left and then search to the left to find a GPS cache. Run to the east side of the roof and look down, to the right of the waterfall. There is an extra effigy there if you need it.
Jump down to the zip line that takes you near a net shaped like a tube. There are salvage nets hanging inside it, so move around to where you can shoot the nets down through the holes in the tube.
From the spot where you fell off the zip line, follow the wood walkway to the right. Drop down to a ledge below and then cross the narrow beam to the left where a GPS cache sits.
Drop down to the ground and cut through the tunnel to the west. Look for the barrel that is between two sets of stairs and search back to the left for a relic. Move west and search between the debris for a GPS cache.
Drop off the platform to the west to find a GPS cache. Return to the fence and move up the steps ahead. Turn left and search under another set of stairs for a document.
Before going up the steps, use the shotgun to blow through a barricade to the southwest. Inside is a GPS cache. Now proceed east to find a base camp. A Challenge Tomb sits just by it.
If you would like to raid the tomb, click here.
Return to the top of the cargo hauling system and use the small ramp to jump onto one of the baskets.
Drop down to the lower level as Solarii attack. Ranged foes will fire at you from above and others will use zip lines to try and get close to you. Try to knock them off the zip lines for some easy kills.
Taking cover behind the pillars gives you the cover to take down the melee soldiers away from the gunfire. Watch out for explosives as you venture out to kill the ranged men.
When the battle is over, the Solarii bring Grim out.
No One Left Behind[]
Find a Way Into the Solarii Stronghold[]
Hop onto a zip line and climb over to the platform on the other side. Loot all the bodies you can and hop onto another zip line on the back of the structure. A Solarii notices Lara and starts shooting arrows at her while another one cuts the line.
She crashes into a craggy wall, holding on with her climbing axe. An arrow slams into the wall next to her, and the man prepares his next shot. A bullet flies in and kills the Solarii. As the second man spins around to find the source, he is wiped out. Roth has come to the rescue!
Climb up and follow the path around to the entrance to the tower. Roth tells Lara he is going to cover her as she makes her way around the bridge. Inside is a base camp. Rest and make any purchases.
Exit out the other side to reach the first bridge. Leap across the gap and enter another tower. Follow the walkway to reach the underside of the bridge. Jump across the gap to reach the wooden rungs. Climb up and walk carefully to the right on a walkway that runs just underneath the guards. This leads to a hole in the bridge, where another guard spots Lara.
Roth kills him quickly. The body falls, and Lara manages to grab a hold of a beam. Jump onto the white boards and stop when Roth tells you

to. He clears the bridge of some guards and tells you to move. Continue moving and stopping on Roth's command.
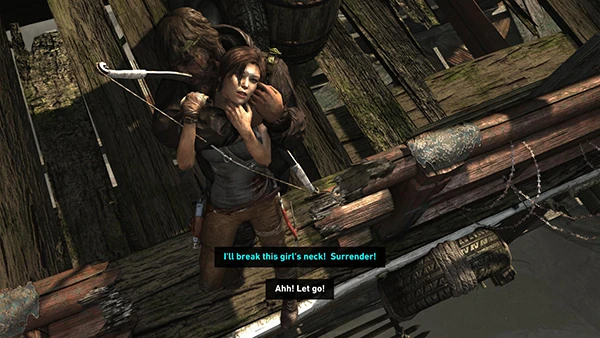
When Lara climbs up on the bridge, a guard suddenly appears and grabs her. Roth shoots him in the neck, and they both fall. Make sure to press the Action button to hang on.
Climb up to the platform and jump across the gaps. You will reach the end of the walkways and a craggy wall is ahead, so press the Action button to sink your axe into the rock. Climb up and Lara heads in.
| ←Mountain Descent Walkthrough | Shantytown Walkthrough | Cavern Entrance Walkthrough→ |
Tomb Raider 2013 Quick Guides
| |
|---|---|
|
Coastal Forest · Mountain Temple · Mountain Village · Base Approach · Mountain Base · Base Exterior · Shantytown · Geothermal Caverns · Summit Forest · Shipwreck Beach · Research Base · Chasm Shrine |
|