Best Laid Plans[]
Follow the Mongolian Path and Search for Signs of the Lost City[]
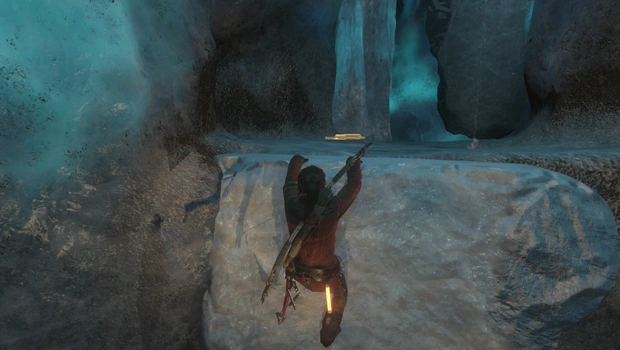
There is a huge, nasty-looking drop ahead. But don't jump down like a crazy woman; leap across the gap and try to grab the icy wall with your axes. But this doesn't go very well. Lara gets to the bottom alive, so that's what matters.
After you hit the bottom, turn around and climb up an icy wall. Search at the top for a document. From there, you can jump to another wall and climb back up to the top. That is a fast way to get back to the Siberian Wilderness in the near future.
Stay at the bottom of the cavern and forge ahead. The path is narrow and there will not be any branches yet. You will enter a room containing a relic on the left side. Then dive into the water at the end of the cave. Go under the old archway and swim quickly through the area. The way out is dead ahead, but a split to the right takes you to a hidden room with another relic in it.
The main route takes you to another large cavern. A base camp is there for your every need. Restore your arrows, make upgrades, buy new skills, and you can Fast Travel back to the Siberian Wilderness if you like. The room around the base camp has a few tiny items in boxes. Get those and rest at the camp. Don't worry about the Challenge Tomb that is mentioned as you go through this room. It is hidden in the next section of the level.
NOTE:If you are playing on harder difficulty levels, some base camp require hardwood to start the fire. This is one of those camps. Make sure you reserve some wood for the camps.
Climb the ledge on the left side of the room and jump to a small hallway through the ice ahead. Walk through there into a big vault of ice. Take a narrow ledge through that room, jump over a gap, and climb to safety. Proceed around the edge of the room and after you get about halfway across the ledge you have a choice: You can continue along with the story, or you can take on the Challenge Tomb. If you decide to do the tomb, click here.
If you decide not to, continue using the ledge to the east to get closer to the objective. Players who completed the tomb should ride a zip line that leads onto a ice slide. At the bottom you will find a relic. People who skipped the tomb can get this collectible by taking the main ledge a little bit past the objective.
Now that you've passed the tomb, take the path to the eastern side of the map to exit the area. Leap over a gap and grab hold of the ice wall. The rest of this map is a bit easier. There are still a few big jumps to make, but there is less pressure. Take the corridor out and search for a few coins on the way, on the right side of the third ledge.
Swim through an underwater cavern as quickly as you can, for Lara cannot hold her breath as long in cold water. Surface from there and grab the final document in the area. It is directly to the right after you get out of the water.
Follow the cavern the whole way out and you will emerge on the mountain.
| ←Siberian Wilderness Walkthrough | Glacial Cavern Walkthrough | Soviet Installation Walkthrough→ |
Rise of the Tomb Raider Walkthroughs
| |
|---|---|
|
Mountain Peak · The Prophet's Tomb · Siberian Wilderness · Glacial Cavern · Soviet Installation · Abandoned Mines · Geothermal Valley (First Visit) · The Acropolis · Geothermal Valley (Second Visit) · Flooded Archives · Geothermal Valley (Third Visit) · Soviet Installation (Copper Mill Bridge) · Research Base · The Orrery · Path of the Deathless · The Lost City · The Chamber of Souls |
|